Before I jump into the process of how infusible ink works and how one can use it at home to achieve a pro-level, I would first like to discuss what it is and how it is beneficial. Later on, I will tell you the easiest method through which you can use this ink at home without any professional help. Read till the end as there are a few tips waiting for you that will help you with your DIY projects.
Knowing everything about invisible ink will not only help you in your college assignments but will also help if you, later on, start your own small/home-based business. Along with it, it is really cheap and has diverse advantages, which I will explain later in this article. So don’t miss out on anything and tag along with me till the end. Let’s get started with an introduction.
Table of Contents
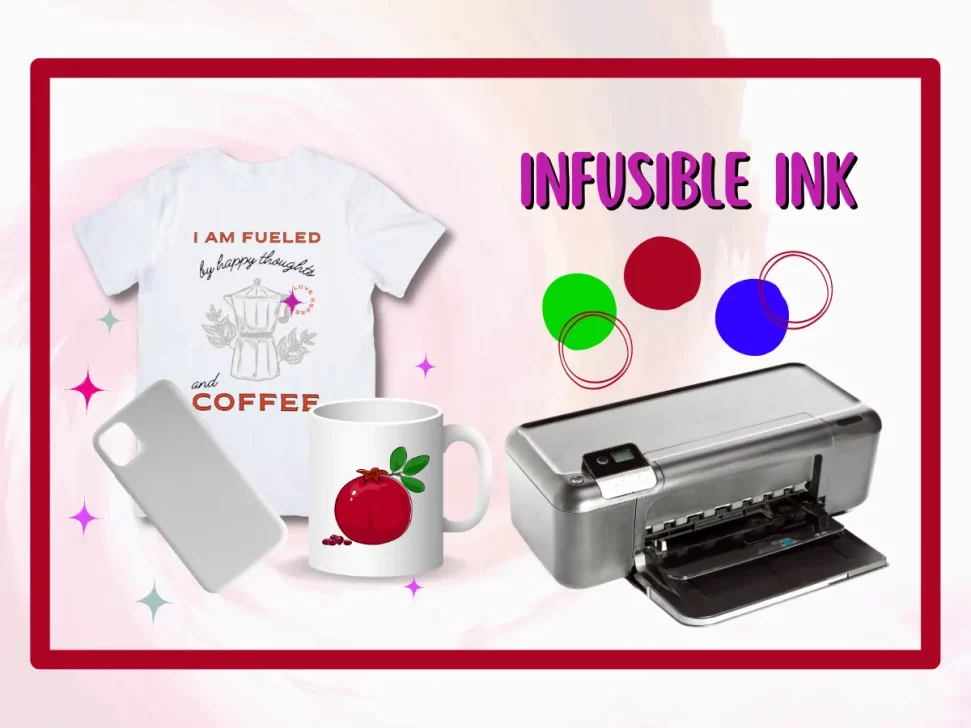
Infusible Ink
Infusible ink can be absorbed by compatible material only. It becomes part of the fabric, mug, coaster, or any other compatible blank you are using. It doesn’t wear off, get wrinkles, or flake away even after several washes. The colors displayed by it are bright and the images are way too clear. It makes the object blank look amazing and worth spending money on.
Working with Invisible Ink
Working with invisible ink is pretty easy, you just have to keep a few things in mind before you get started. I am going to explain the easiest method below but before you start make sure that you have all the accessories that are needed to last the procedure. Let’s begin now.
- Choose the infusible ink sheet first.
- Now select the compatible blank to work with.
- Now select the design you want to print on the desired blank.
- After selecting the design, place the ink sheet on the cutting mat.
- Recheck the design and colors and edit the design if you want to before you enter the “ok” for the design because you cannot stop printing once it is started.
- Now place the invisible ink design on the project/blank properly and apply heat through an easy press.
Working with Infusible Ink Pens
The method is pretty easy, you just have to follow it accurately.
- First of all, select the ink pen and then choose the ink you want to draw the design with.
- Now select the compatible blank.
- Draw the design of your choice with the ink pen or marker onto the laser paper.
- Now lay the last paper over the compatible blank you selected and then use the heat press to transfer the ink onto the blank.
Tips
- Ink gets dissolved into the shirt as soon as the printing is done, but still, give the ink some time to dry properly so that no smudging occurs.
- Make sure that the ink sheets you are using are not expired.
- If you have enough time then you can also preheat the heat press to get the best results.
Advantages of Infusible Ink
- Infusible inks are simpler than other inks in the market.
- One can wear the products of such ink without being worried that the design will flake away, or get wrinkled after a wash.
- The ink gets dissolved into the fabric permanently.
- It’s easy to handle and easy to use.
- Everyone can work with such ink no matter what their skill level is, whether one is a beginner or a pro, it is that easy.
- Provide vibrant colors.
- You can even make your own designs using markers and pens.
- This is way too good to start your own business.
Disadvantages of Infusible Ink
- Infusible ink cannot be applied on every surface.
- Its results are only perfect over white surfaces and pastel colors.
- It works best only with compatible blanks.
How it is Different from other Similar Inks
Sublimation ink and infusible ink are one of the same things. But infusible ink is the simplest form, you can say. If you are a starter then it is better that you go with the infusible ink and practice with it and once you think you have understood the work then you can jump to sublimation ink to expand your business. If you want to know about best sublimation ink then visit: Best Sublimation Ink
Iron On and HTV Process
Iron On and the heat Transfer Vinyl process prints are just temporary. They get peeled off easily because they are not absorbed into the fabric. They also get wrinkled and your blank starts looking old after a few washes. So if you are starting your own business then go with sublimation ink or infusible ink so that your customers don’t get disappointed by the products you sell.
Image Transferred Unevenly
I have been asked this question so frequently what to do if the image is transferred unevenly? Or if the results are not as what one expected? Well, sadly I would say that the answer is that once the printing is complete you can do nothing about it, you can’t change what has been printed. You can either dispose of it or wear it confidently. But wait! do not get disappointed as there is a lot that you can do before the printing starts and that is as follows.
- First of all, make sure that the blank you have chosen is compatible with the infusible ink.
- After that make sure that the compatible blank you are about to print is properly ironed.
- The third step you can do is to preheat the easy press.
- On the fourth number, make sure there are no buttons or zips on the blank you are about to print.
- Last but not least, make sure you place the ink sheet perfectly over the blank, a little disbalance can destroy all your effort.
The easiest way to eliminate the issues is you apply the mirror technique. This technique says that the sweet should be perfectly settled over the object before printing. Let the ink cool down before you remove the sheet. Sometimes when the ink is hot and you remove the sheet, the colors disperse and make all your effort go in vain.
FAQs
Conclusion
I hope you got all the information through this article about infusible ink. If you are at the start of your business and wanna impress your clients then you should choose infusible ink as this is simple and easy to use and one can also make their own designs using markers and pens. And once your business is established you can switch to sublimation inks as they are a little expensive but worth using. Lastly, I will bring more information about this ink but just stay tuned for a while.

